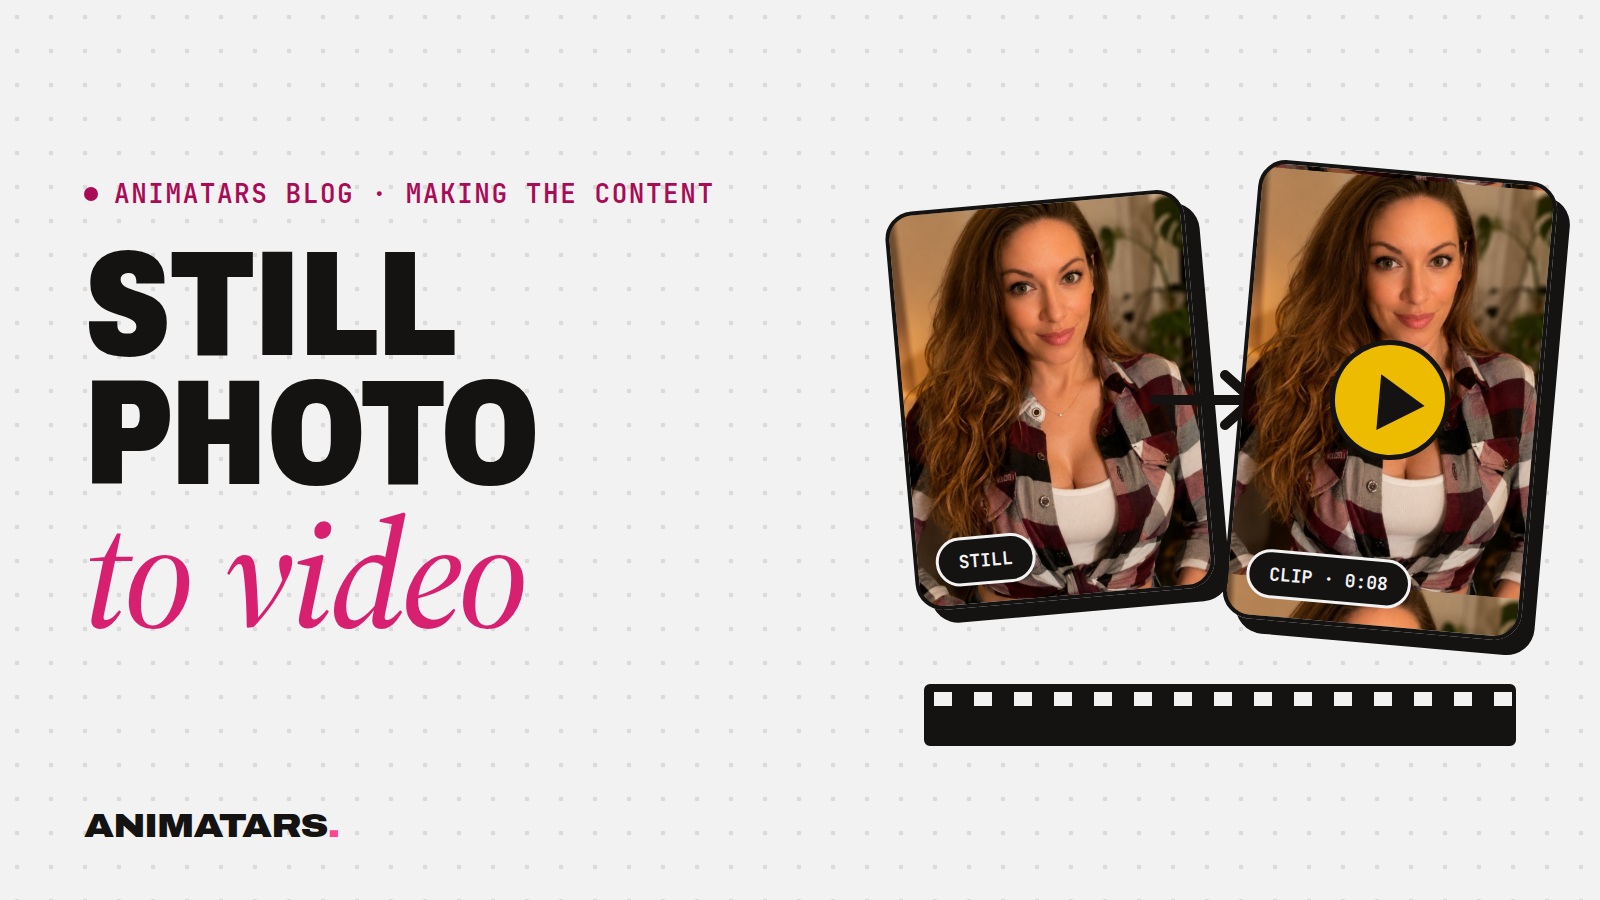
Here’s what one clip looks like moving through our studio, start to finish. The subject is a balcony makeover still: our character kneeling by a freshly potted olive tree, sun coming in low from the left. A lovely photo. On its own, it’d get a quick glance in a feed full of video.
By the end of this walkthrough it’ll be a short, layered Reel with a hook, real cuts, sound and an AI label. Every step below is the exact order we work in, with the prompts, the checklists and the bits we throw away. Image to video AI is easy to try and surprisingly hard to make look good, so we’ll focus on the parts that make the difference.
Step 0: Choose a still that wants to move
Not every great photo is a great video. Before you open any image to video AI tool, look at the still and ask what could naturally move in it.
Good candidates have:
- One obvious motion source. Leaves, steam, a curtain, water from a watering can, a hand smoothing fabric.
- A clear, medium-sized face (or no face at all). Tiny faces mutate. Faces filling the frame show every glitch.
- Simple hands. Hands holding one solid object animate better than hands doing something fiddly.
- Room to move. If the character is pressed against the edge of the frame, any motion pushes them out of it.
Bad candidates: busy group shots, mirrors, readable text on signs or packaging, and anything where the character is mid-gesture with fingers spread. Save those for carousels.
And the still has to pass your character drift check first. Video won’t fix a face that’s slightly off. It makes it worse. If you don’t have a drift check yet, it’s in our consistent AI character guide.
Step 1: Prep the still
A few minutes here saves a lot of rerolls.
- Crop to vertical (9:16) before animating, so the tool composes for the format you’ll post in.
- Clean up small errors now: a stray finger, a melted pot handle, a weird leaf. Every flaw in the still becomes a moving flaw.
- Check the edges. Anything cut off at the frame edge might grow, shrink or wobble once it moves.
- Save a clean master with a clear name (
balcony-olive-master.png), so you can come back for more takes.
Step 2: Write the motion prompt
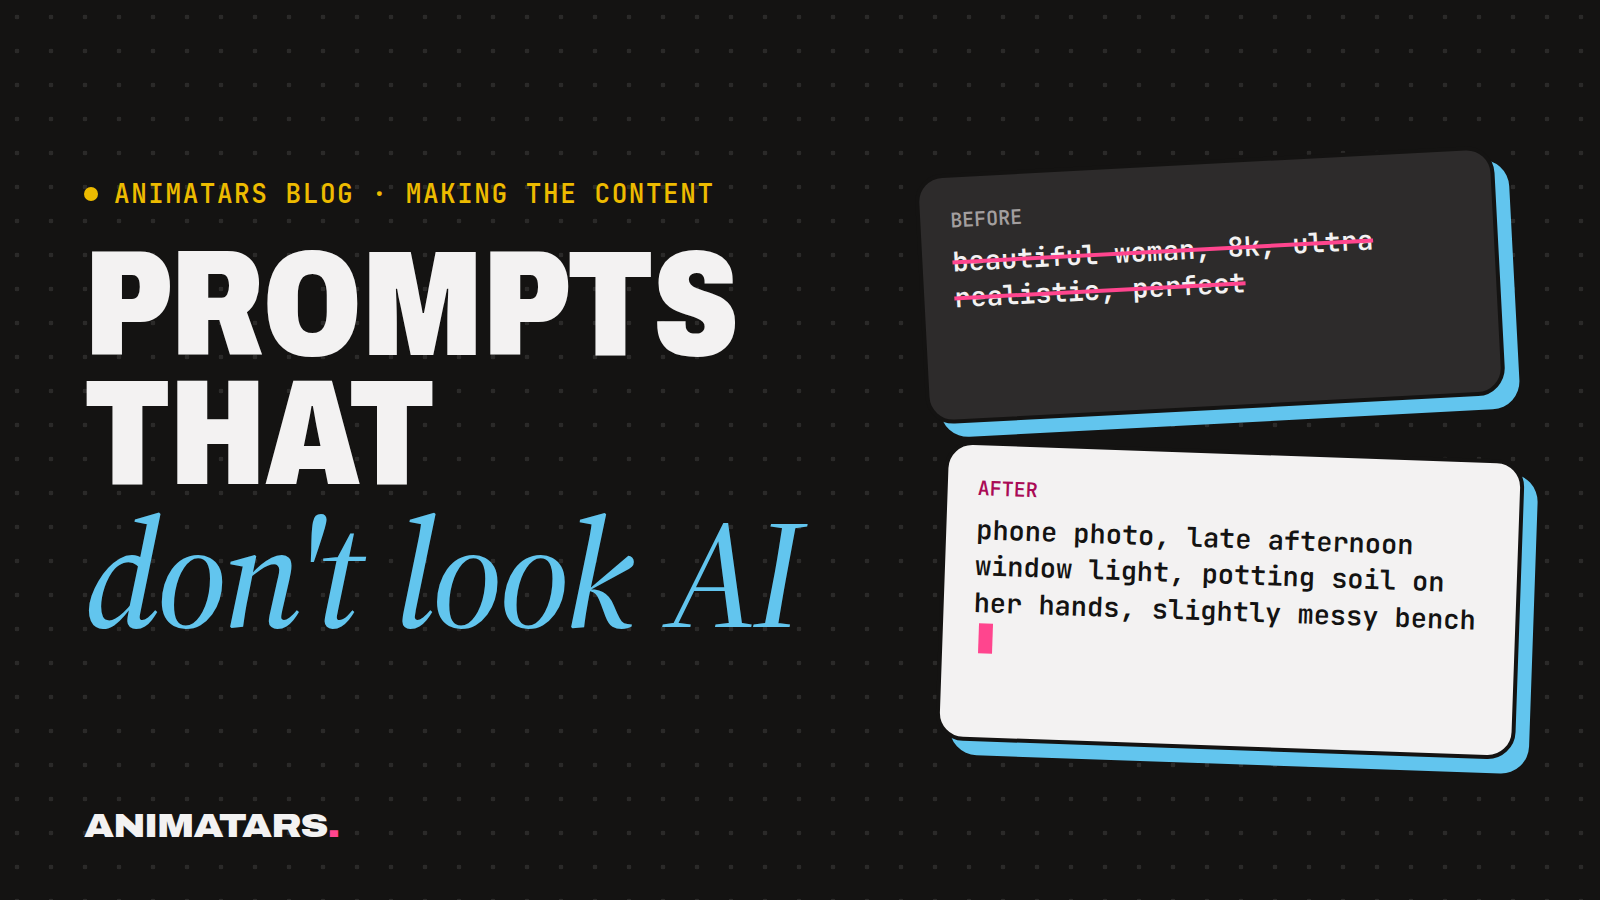
This is where most people go wrong. They describe the whole scene again, or ask for six things to happen at once. The image already shows the scene. The motion prompt only describes what moves and how the camera behaves.
Our rule: one subject motion, one camera motion, at most.
MOTION PROMPT TEMPLATE
Subject: [one small, natural action]
Environment: [optional, one ambient movement]
Camera: [static / slow push-in / slight handheld drift]
Mood: [calm, slow / quick, bright]
Keep: face and body consistent, natural movement
Here are a few real-world style examples you can adapt:
She slowly looks up from the pot and smiles toward the camera.
Olive leaves move gently in a light breeze.
Camera: slow push-in. Calm, natural movement.
Steam rises from the mug on the windowsill. The linen curtain
sways slightly. No people move. Camera: static, slight handheld
feel.A hand smooths a strip of peel-and-stick wallpaper from top to
bottom. Camera: static, close-up. Smooth, even movement.Camera slowly pans left across the finished reading nook,
revealing the plant shelf. Nothing else moves.Notice that the last two have no face at all. Some of our favorite clips are hands, details and slow pans across a finished room. They’re also the lowest-risk shots you can make.
Step 3: Generate takes, then be ruthless
Generate several takes per still. Tools like Runway and Kling will give you different results from the same prompt, and some of them will be unusable. That’s normal.
Then review every take with the sound off, full screen, at full speed and then frame by frame where the motion happens. Reject anything with:
REJECT IF
[ ] The face changes shape, age or features at any point
[ ] Hands gain, lose or merge fingers
[ ] Objects melt into each other (hand into pot, foot into rug)
[ ] Furniture slides or breathes
[ ] Text or patterns crawl
[ ] Motion speeds up or slows down for no reason
[ ] The character's signature detail disappears
If every take fails, don’t keep rerolling the same prompt forever. Make the motion smaller, simplify the camera, or go back to Step 0 and pick a different still.
Step 4: Trim to the good part
Most generated clips have a sweet spot and a drift zone. The first moments are often closest to your original still, and things can wander toward the end. Cut the clip down to only the part that holds up. A short, clean moment beats a longer one with a wobble at the end.
Step 5: Build the edit
One generated clip is a GIF. A Reel is an edit. We put ours together in CapCut, and the structure usually looks like this:
SIMPLE 4-SHOT MAKEOVER REEL
Shot 1 (hook): the "before" still with slow push-in
               + on-screen text: "This balcony was sad."
Shot 2: hands-only process clip (potting, sanding, smoothing)
Shot 3: detail clip (leaves moving, steam, curtain)
Shot 4: the character in the finished space, small smile or look up
End card: one line of text with the takeaway or the question
A few editing habits that make AI clips feel more real:
- Cut on motion. Jumping from one moving clip to another hides small glitches.
- Mix shot types. Wide, close, hands, face. Real creators don’t film everything from the same spot.
- Add real sound. Ambient sound, a song, or a voiceover. If you’re adding voice, our guide to AI voice for content creators covers casting and pacing.
- Put text on screen. Many people watch with the sound off. A clear hook in text does a lot of work.
Step 6: Label it and post it
Realistic AI video is exactly the kind of content platforms ask you to label. Instagram, TikTok and YouTube each have their own way to mark AI-generated or realistic synthetic content. Turn the label on where it applies, and keep the AI disclosure in the character’s bio too. The settings change, so check each platform’s current options rather than trusting an old tutorial.
If the clip includes an affiliate link or a paid partnership (say, the planter brand sent the pots), disclose that as well. The FTC expects those to be clear.
What this looks like across niches
The same workflow works well beyond decor:
- Cooking: steam off a bowl, a hand sprinkling herbs, a slow push-in on the plate.
- Fitness: a slow-motion step on a park path, hair moving, camera static.
- Books: pages turning, a candle flickering, a hand placing a mug beside the book.
- Builds: sawdust drifting, a hand sliding across a sanded tabletop. Logan (diywithlogan.com) gets a lot out of shots like these.
Each one is a single small motion in a strong still. That’s really the whole trick.
Where image to video AI sits in the bigger workflow
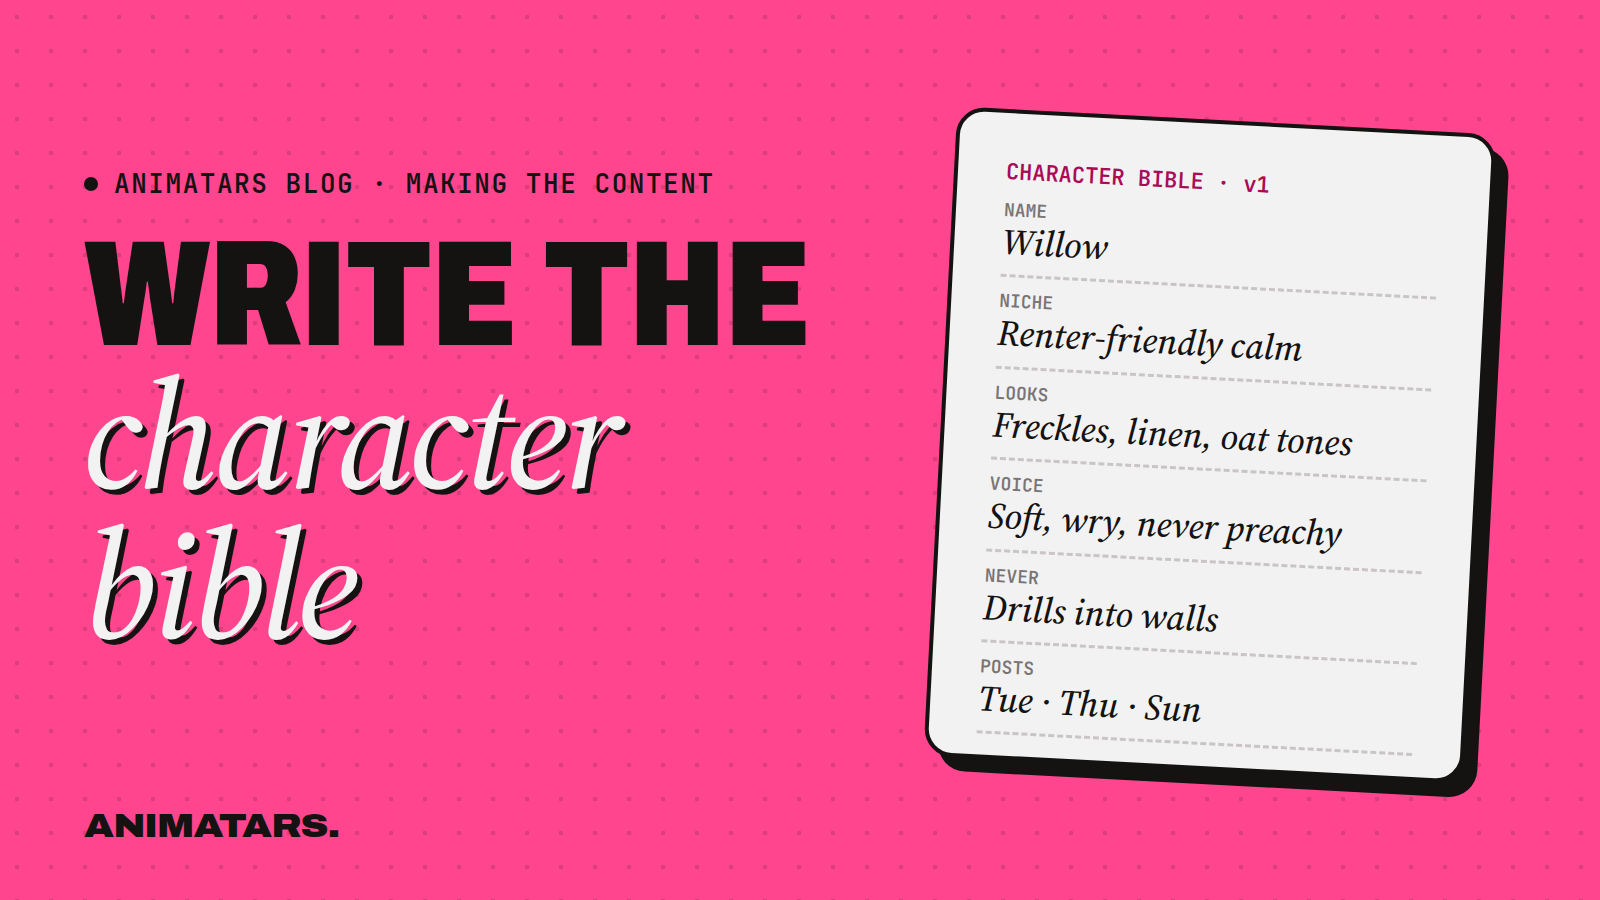
Image to video AI is the last step of a longer chain. You need a locked face, a character bible and stills that look real before motion adds anything. If you’re not there yet, start with AI image prompts that don’t look AI-generated, and check the AI creator tool stack to see where video fits in your setup.
FAQ
What is image to video AI?
It’s a type of AI tool that takes a still image and generates a short video from it, adding movement like a head turn, steam rising or a camera push-in. Runway and Kling are well-known examples.
How do I stop faces from changing in AI video?
Start from a still that already passes your character check, keep the face reasonably large in frame, ask for one small motion, and reject any take where the face shifts.
How long should AI video clips be for Reels and TikTok?
Generate short clips and cut them tight. Several short clips stitched with real cuts usually feel more natural than one long generated take, which tends to drift.
Do I have to label AI-generated videos?
If the video is realistic AI-generated content, use the platform’s AI label where it applies and keep the AI disclosure in your bio. Check each platform’s current settings.
Learn it with us
We’re turning this workflow into Creator School video lessons and a set of video prompts for the Prompt Vault, both part of the Animatars Studio Pack we’re building. It’s in beta now. Join the beta and help us shape it.