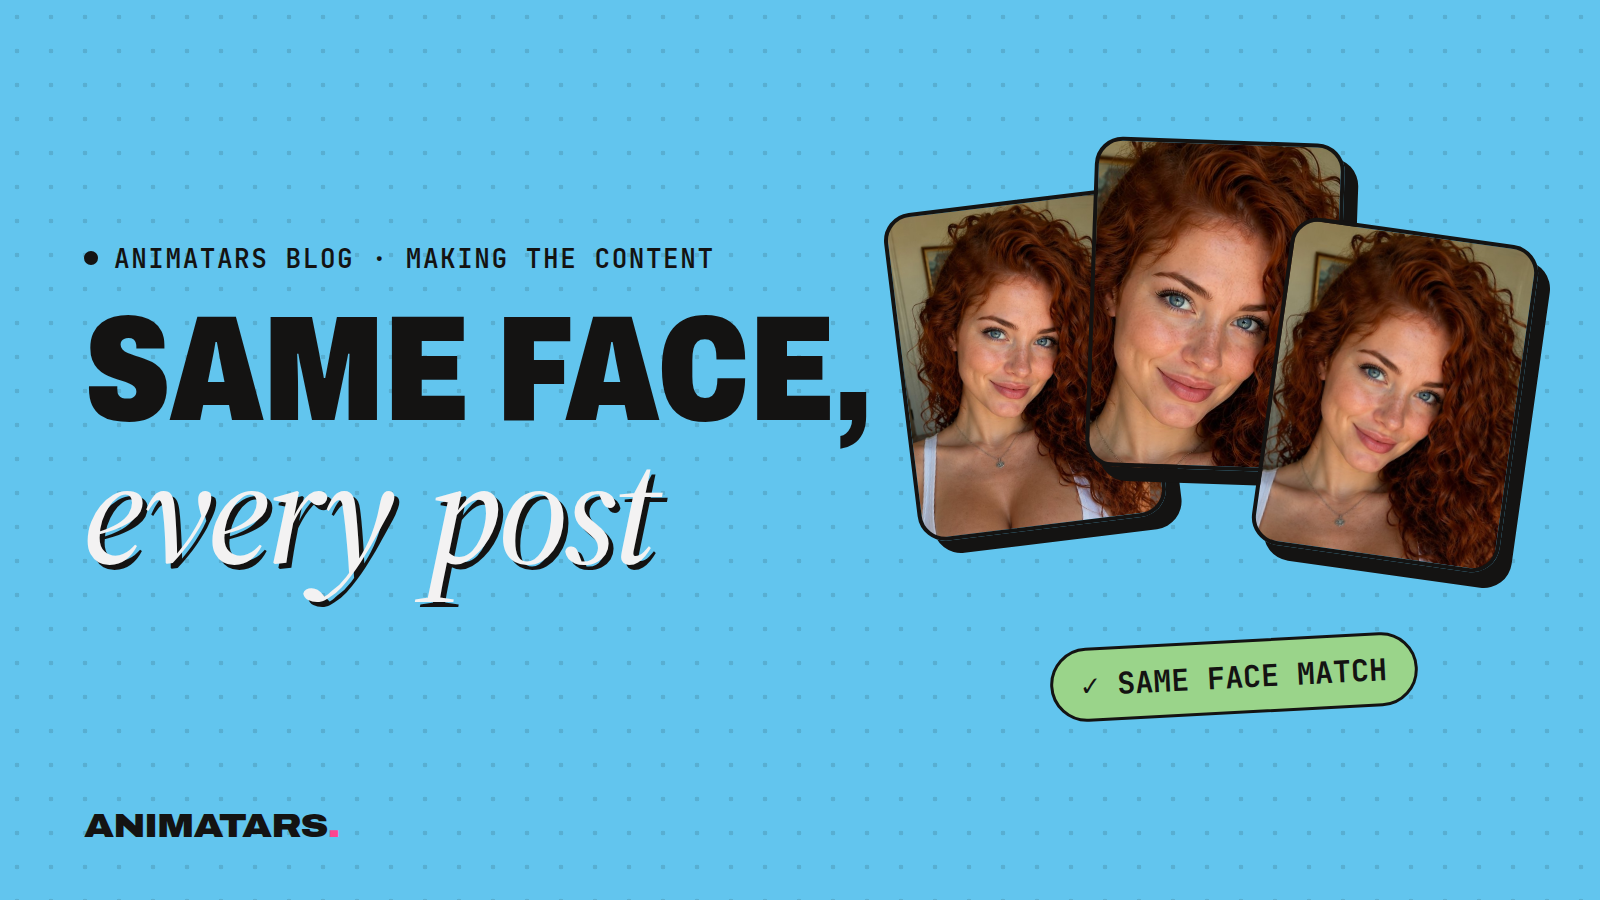
Picture this. Your character, let’s call her Juno, posts a patio makeover on Monday. Freckles, a slightly crooked smile, dark wavy hair. On Wednesday she shows off a $40 headboard, and somebody in the comments asks, “Is this her sister?” By Friday the freckles are gone and she’s two years younger.
That’s the most common way AI creators lose people. Followers don’t follow a style. They follow a person. A consistent AI character is the whole game, and the good news is that it’s mostly a process problem, not a talent problem.
This guide is our house method for keeping the same face in every post: the face lock, the reference set, the two-part prompt, the drift check and the fixes for when it goes wrong. It’s the pillar for our content cluster, so you’ll find links to the deeper guides as we go.
Why AI faces drift
Image models don’t remember your character. Every generation starts fresh, and the model fills in anything you didn’t specify with its idea of “average attractive person.” Three things make it worse:
- Vague face descriptions. “Pretty woman, brown hair” describes millions of people, so you get a different one each time.
- Prompts that change everywhere. If you rewrite the whole prompt for each scene, the face drifts along with the furniture.
- Strong scenes. A dramatic setting (golden hour, a moody bathroom, a costume) pulls the face toward whatever the model associates with that setting.
You fix all three the same way: separate what never changes from what always changes.
Step 1: Write the face lock
The face lock is a short, specific paragraph describing your character’s face and body. It goes into every single image prompt, word for word, forever. Specific beats pretty. Write it like a casting note, not a dating profile.
Here’s a template:
FACE LOCK: [NAME]
Age look: [e.g. early thirties]
Face shape: [e.g. soft oval, wide cheekbones, rounded chin]
Eyes: [color, shape, e.g. hazel, slightly hooded, faint smile lines]
Brows: [e.g. thick, straight, a little untamed]
Nose: [e.g. straight with a small bump on the bridge]
Mouth: [e.g. full lower lip, slightly crooked smile]
Skin: [tone + texture, e.g. warm olive, light freckles across nose]
Hair: [color, length, texture, usual style]
Signature detail: [one thing people will recognize, e.g. a small
gold hoop in the left ear only]
Build: [e.g. average height, strong shoulders]
The signature detail matters more than you’d think. A single asymmetric thing (one earring, a streak of grey, a small scar on the eyebrow) gives viewers a recognition hook, and gives you a fast way to spot drift.
The face lock lives inside a bigger document, the character bible. If you don’t have one yet, our character bible template has a fill-in version with sections for wardrobe, home, voice and values.
Step 2: Build the reference set
Now generate. A lot. Use the face lock with plain, neutral scenes: a white wall, soft daylight, front view, three-quarter view, profile, smiling, neutral, laughing. You’re casting your own character.
From all of that, keep the best eight to twelve images that look like the same person. This is your reference set. Name the files clearly (juno-front-neutral.png, juno-34-smile.png) and keep them in one folder. Don’t add an image to this folder unless it passes the drift check below. This folder is the source of truth, more than any prompt.
If your image tool offers a reference image or character feature, this is where it pays off: feed it images from the set. If you later decide to train a custom model on your character, this set is your starting training data. Either way, the set comes first.
Step 3: Use a two-part prompt
Every prompt has two parts. The face lock (never changes) and the scene block (always changes). Keep them visually separate in your notes so you never accidentally edit the face while rewriting the scene.
[FACE LOCK, pasted word for word]

SCENE: [where she is, e.g. a small concrete balcony with potted
olive trees and a jute rug]
ACTION: [what she's doing, e.g. kneeling, pressing soil into a
terracotta pot]
WARDROBE: [from the bible, e.g. faded denim overalls, white tee]
CAMERA: [e.g. phone photo, eye level, slightly off-center]
LIGHT: [e.g. late afternoon sun from the left, soft shadows]
Two tips that help a lot. First, keep the camera close enough to see the face clearly in your early posts. Tiny faces in wide shots are where drift hides. Second, change only one or two things at a time. Same balcony with a new action is safer than a new room, new outfit and new lighting all at once.
For the scene half, our guide to AI image prompts that don’t look AI-generated goes much deeper on camera and light language.
Step 4: Run the drift check before you post
Put the new image next to two images from the reference set. Then go down this list. It takes about a minute.
DRIFT CHECK
[ ] Same face shape and jawline?
[ ] Same eye color and eye shape?
[ ] Same nose (check the bridge and tip)?
[ ] Signature detail present and on the correct side?
[ ] Hair color and length match the bible?
[ ] Looks the same age (not younger, not glossier)?
[ ] Hands: five fingers each, nothing melting into the mug?
[ ] Would a follower recognize her with the caption covered?
That last question is the real test. If you hesitate, regenerate. One off-model image in a carousel does more damage than skipping a post.
Step 5: Fix the usual problems
She keeps getting younger and glossier. Models love smoothing skin. Add texture back in the face lock (visible pores, faint smile lines) and ask for a phone photo rather than a “professional portrait.”
The signature detail swaps sides. Mirroring is common. Keep the detail in your face lock and check it every time. Flip the image in your editor if everything else is right, but only if nothing in the scene has readable text.
She looks right alone but wrong in big scenes. Go back to medium shots. Build trust with close and medium framing first, then try wider makeovers once the face is rock solid in your set.
Video changes her face. Animate only images that already passed the drift check, and keep the motion small. Our image-to-video AI workflow covers this step by step.
A consistent AI character is more than a face
Here’s the bit most guides skip. People recognize a character by a lot more than her nose. The strongest characters we’ve built feel consistent in five ways:
- Wardrobe: a short list of go-to outfits. Overalls and a white tee says “DIY” before anyone reads a caption.
- Home: the same rooms, the same rug, the same plant that slowly grows. Recurring sets make makeovers feel real.
- Palette: a color mood that shows up in every frame, like terracotta and sage for a boho creator.
- Voice: the same speaking voice and the same way of writing captions. See our AI tool stack for where voice and caption tools fit.
- Values: what she always does and never does. A renter-friendly character never suggests drilling into the walls.
Look at our own creators and you’ll see it. Willow (diywithwillow.com) is renter-friendly calm in every frame. Logan (diywithlogan.com) is all builds, and his line “Build. Create. Improve.” reads like a personality, not a slogan. Claudia (DIY with Claudia) is plants, patios and boho makeovers, and reached 582K+ followers and 100M+ views across platforms in 90 days with zero real faces shown. We can’t promise anyone those results, and they vary a lot, but none of it would have happened if Claudia looked different every Tuesday.
Disclosure: consistent and honest
The better your character consistency gets, the more realistic your creator looks, and the more it matters that people know she’s AI. Put it in the bio (“Juno is an AI character, made with love by [your studio name]”), and use the AI-generated content labels that Instagram, TikTok and YouTube each offer where they apply. Settings move, so check each platform’s current options. Being upfront costs you nothing with the people worth keeping.
FAQ
How do I make an AI character look the same in every image?
Write a fixed face description, build a reference set of approved images, use your tool’s reference or character feature if it has one, and check every new image against the set before posting.
Why does my AI character’s face keep changing?
Usually because the prompt changes too much between images, the face description is vague, or new scenes pull the model toward a generic face. Lock the face block and only change the scene.
Should I train a custom model for my AI character?
It can help once you have a solid set of approved images. Start with a fixed prompt and reference images first, and only train when those stop being enough.
Does a consistent AI character need to be disclosed as AI?
Yes. The more realistic and consistent the character, the more important clear disclosure becomes. Say it in the bio and use each platform’s AI label where it applies.
Get the full kit
Inside the Animatars Studio Pack we’re putting Character Keys (complete character bibles, face locks included), the Prompt Vault and the Creator School lessons that walk through this exact method. It’s in beta now, and we’d love your help shaping it. Join the beta.